Participation in the Flow4U Battery Conference

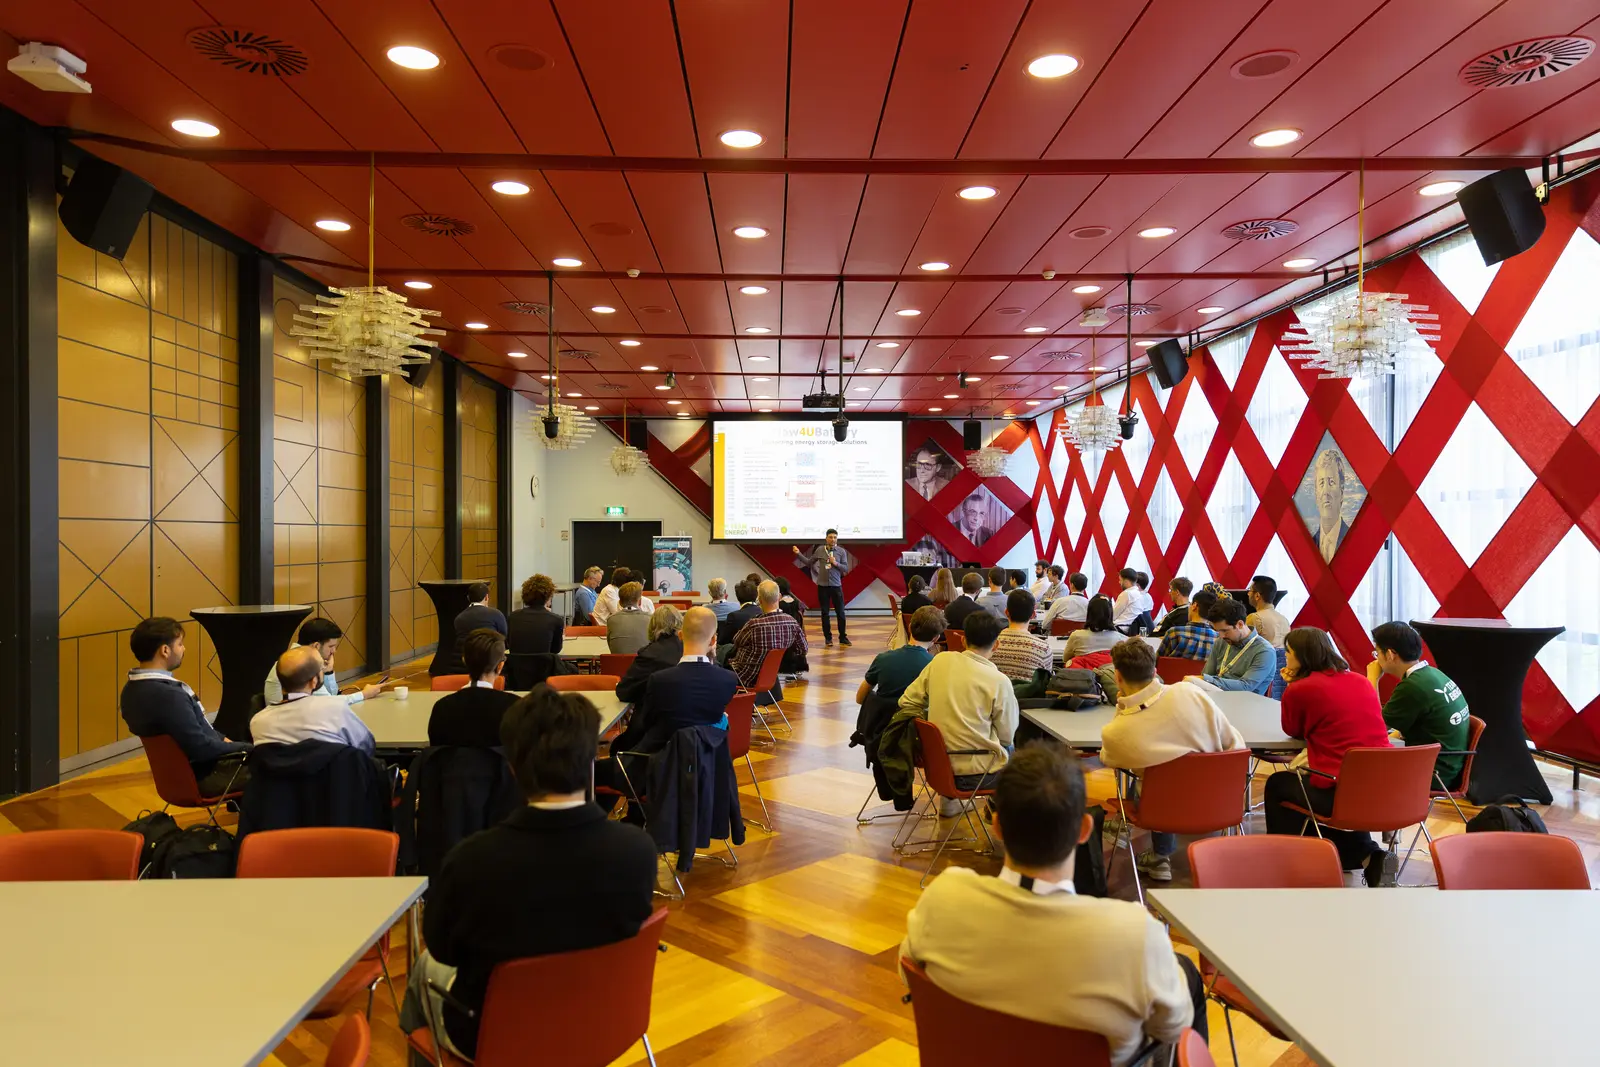
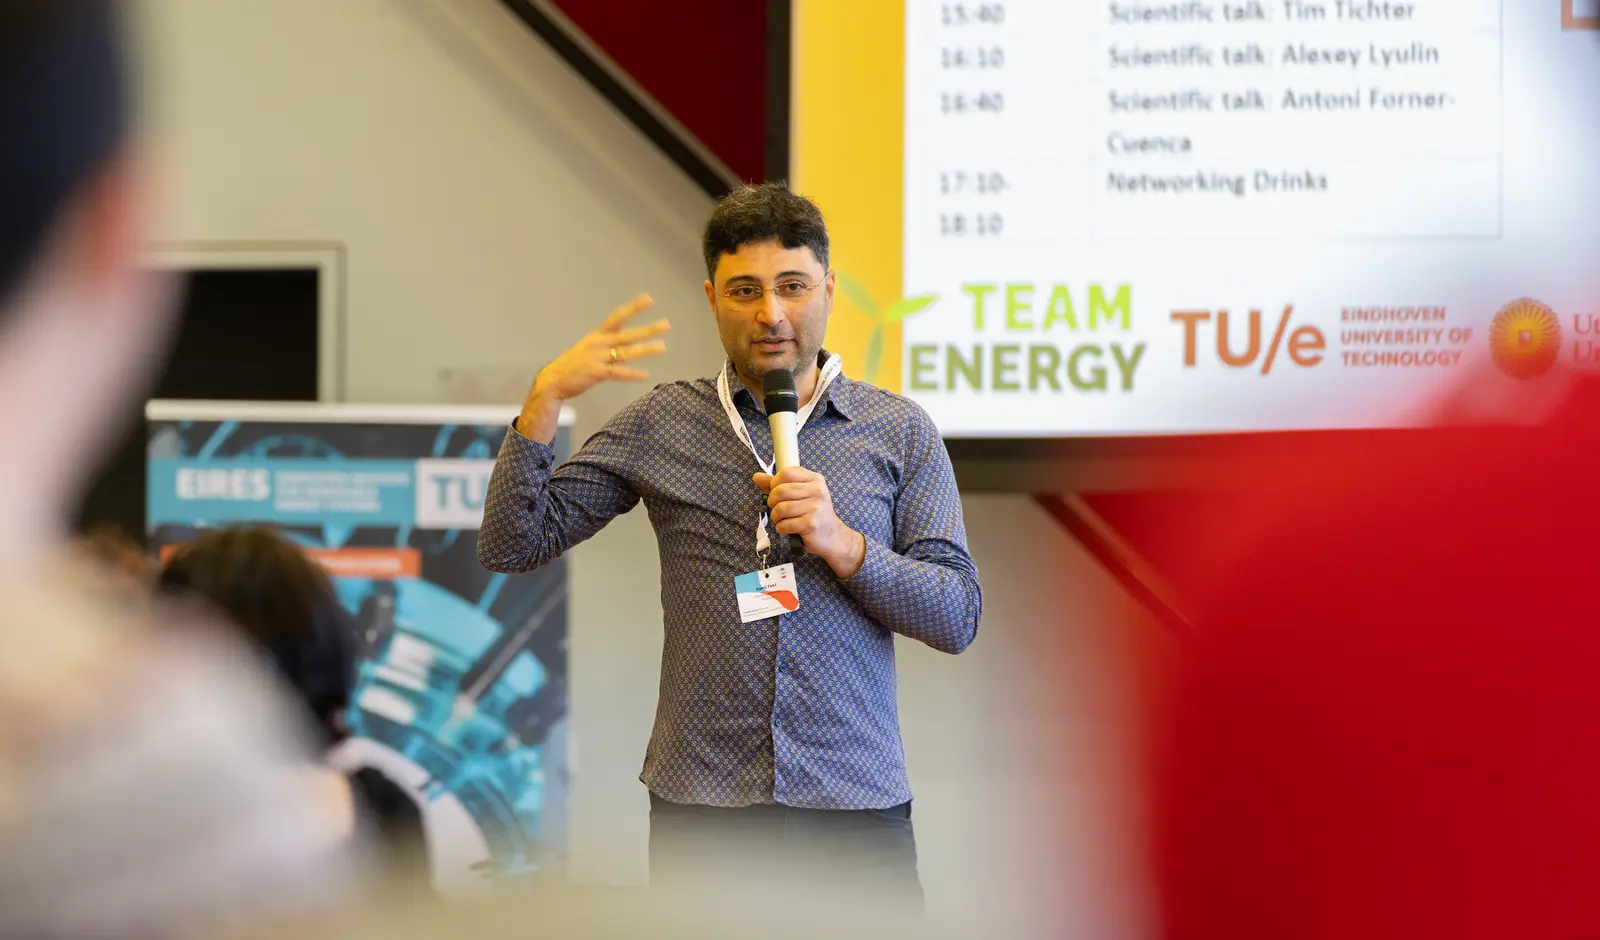
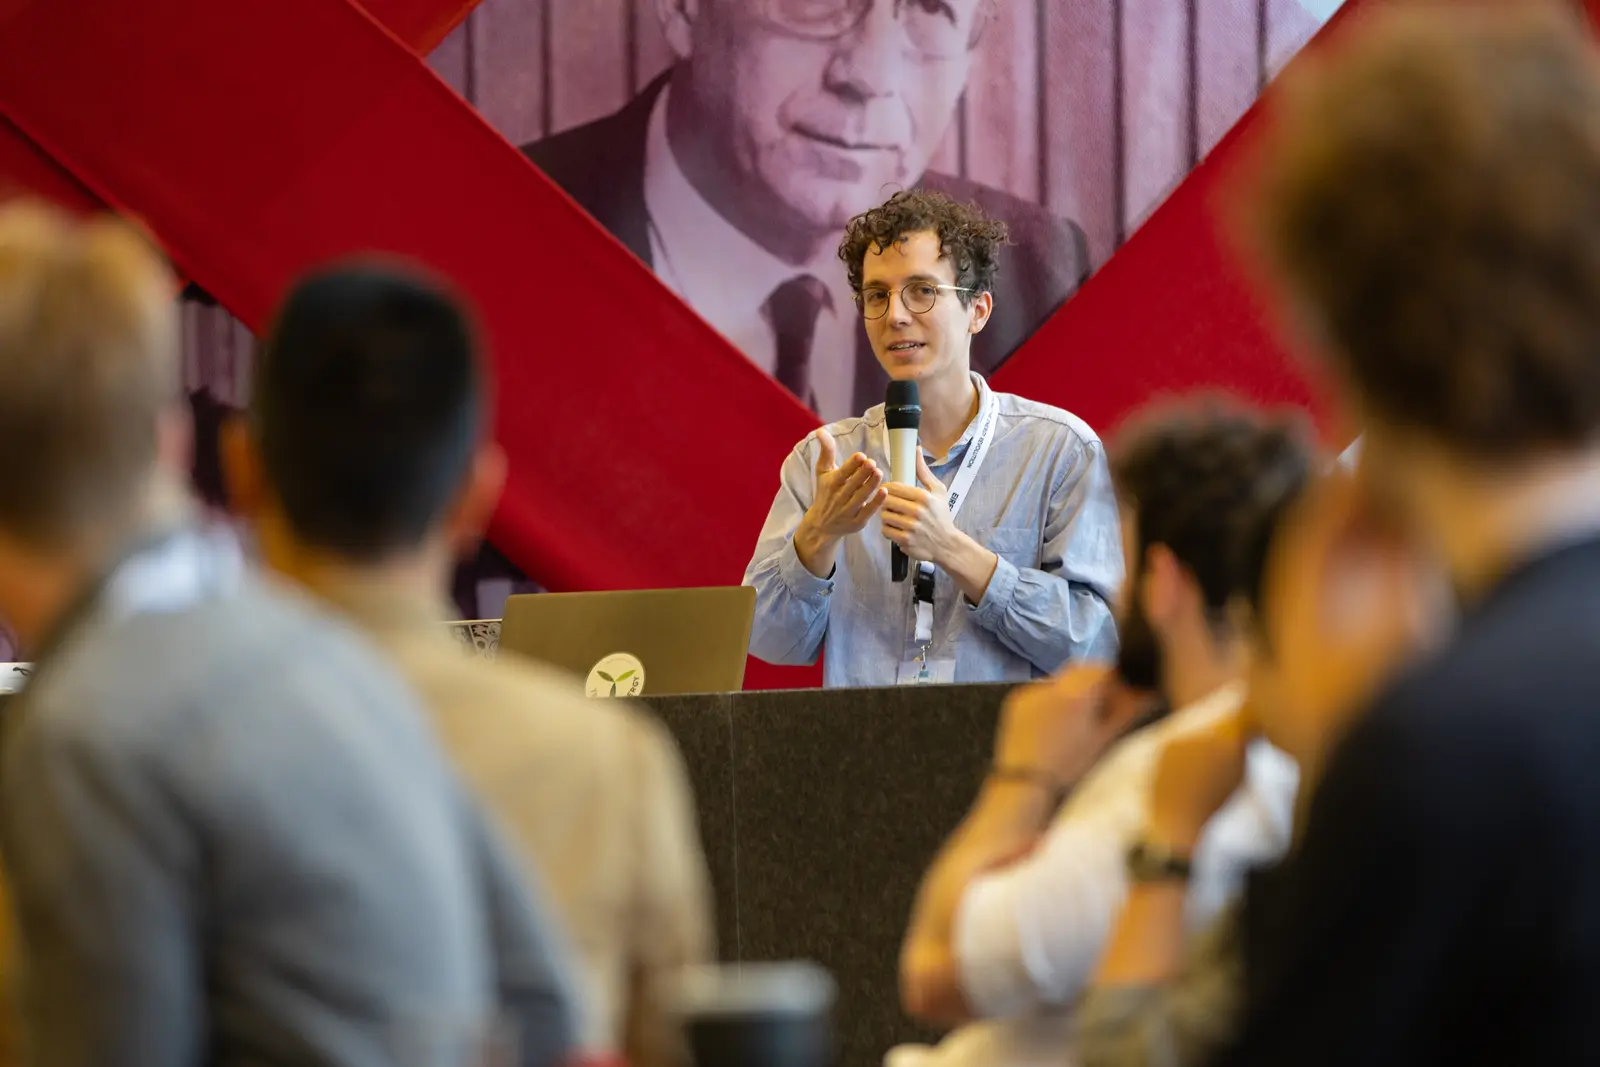
On April 9, the Flow Battery Research Collective attended the Flow4U flow battery conference at Eindhoven University at the invitation of Prof Sanli Faez of Utrecht University and the FAIR Battery project. We gave a presentation on our project which you can see below:
The presentation was uploaded to ECSarxiv and given a DOI here.
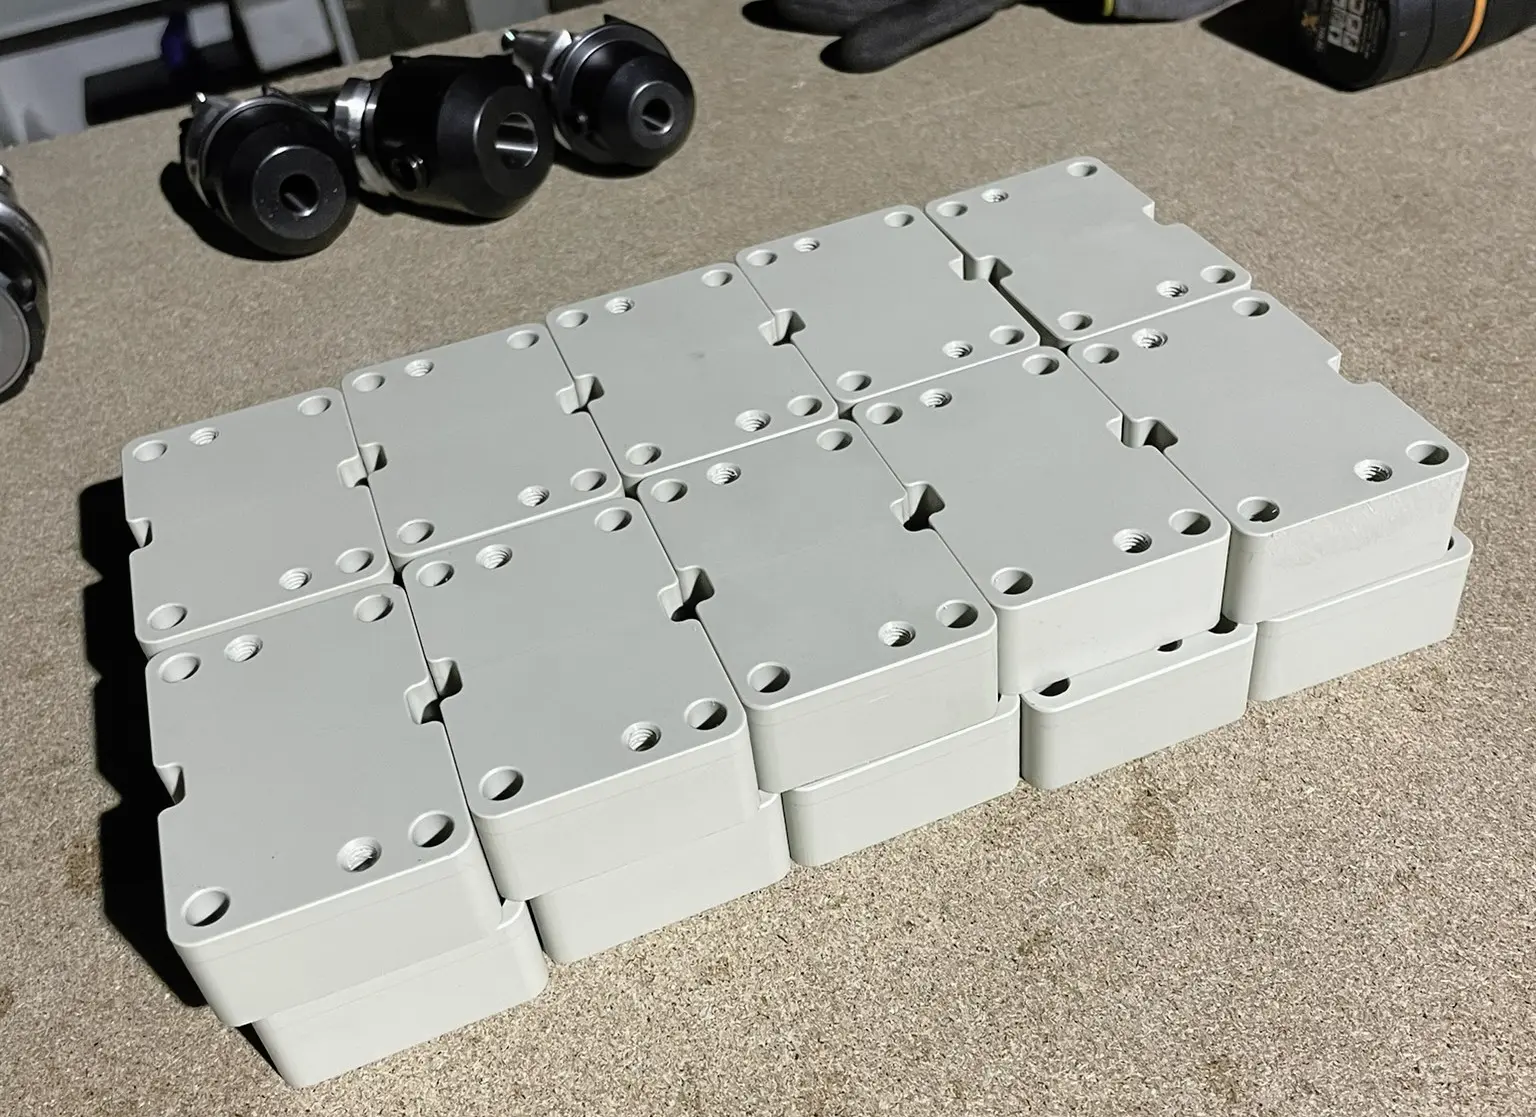
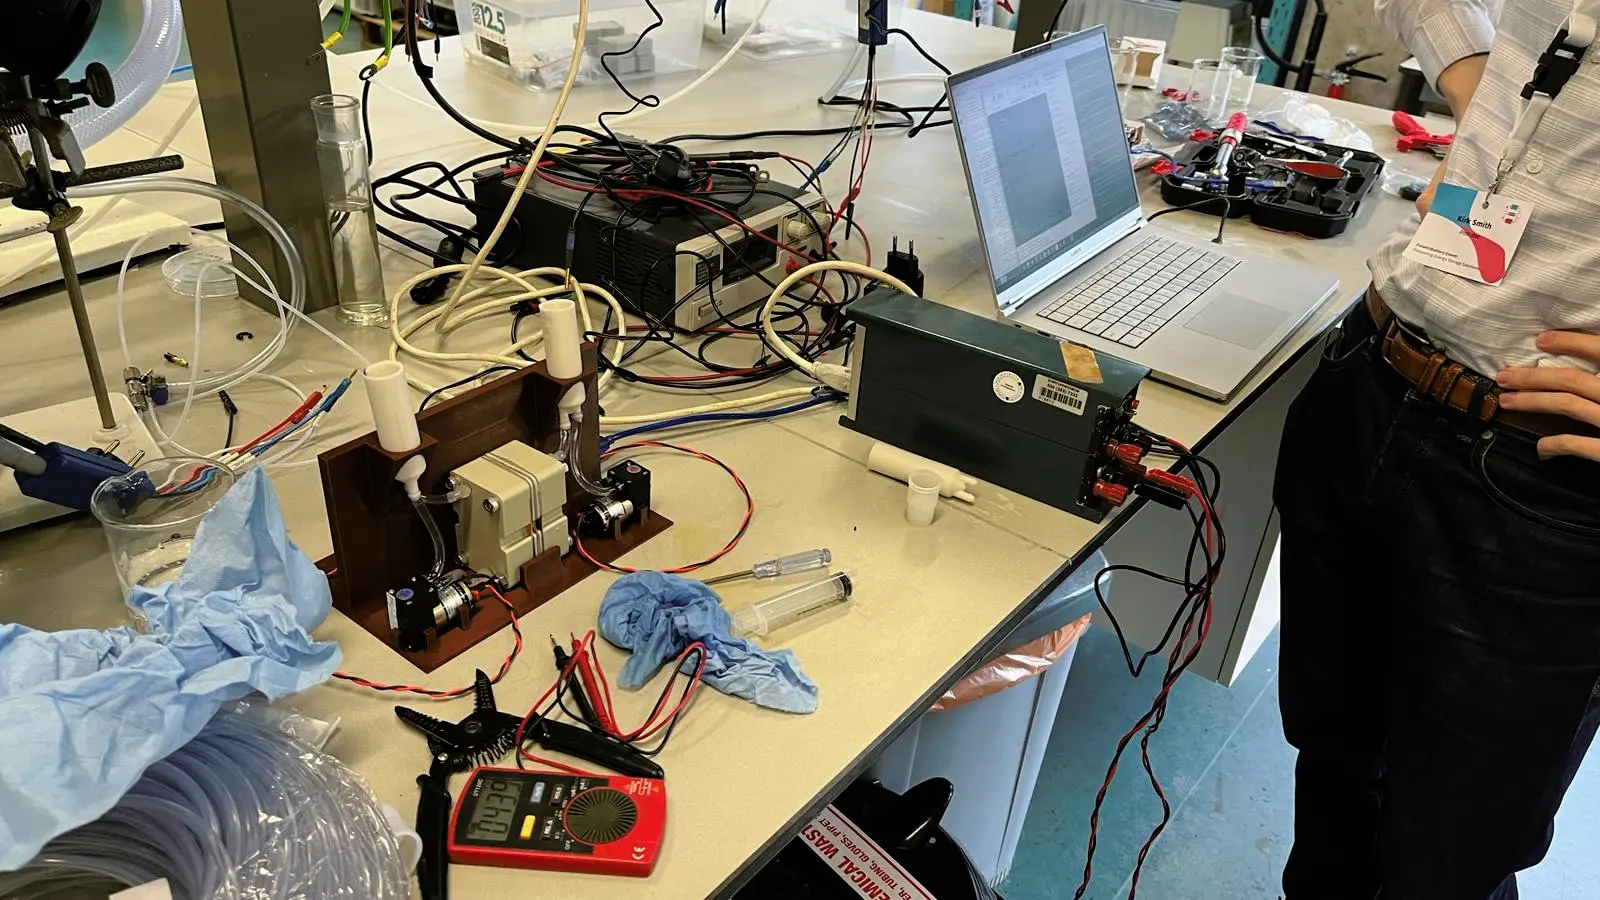
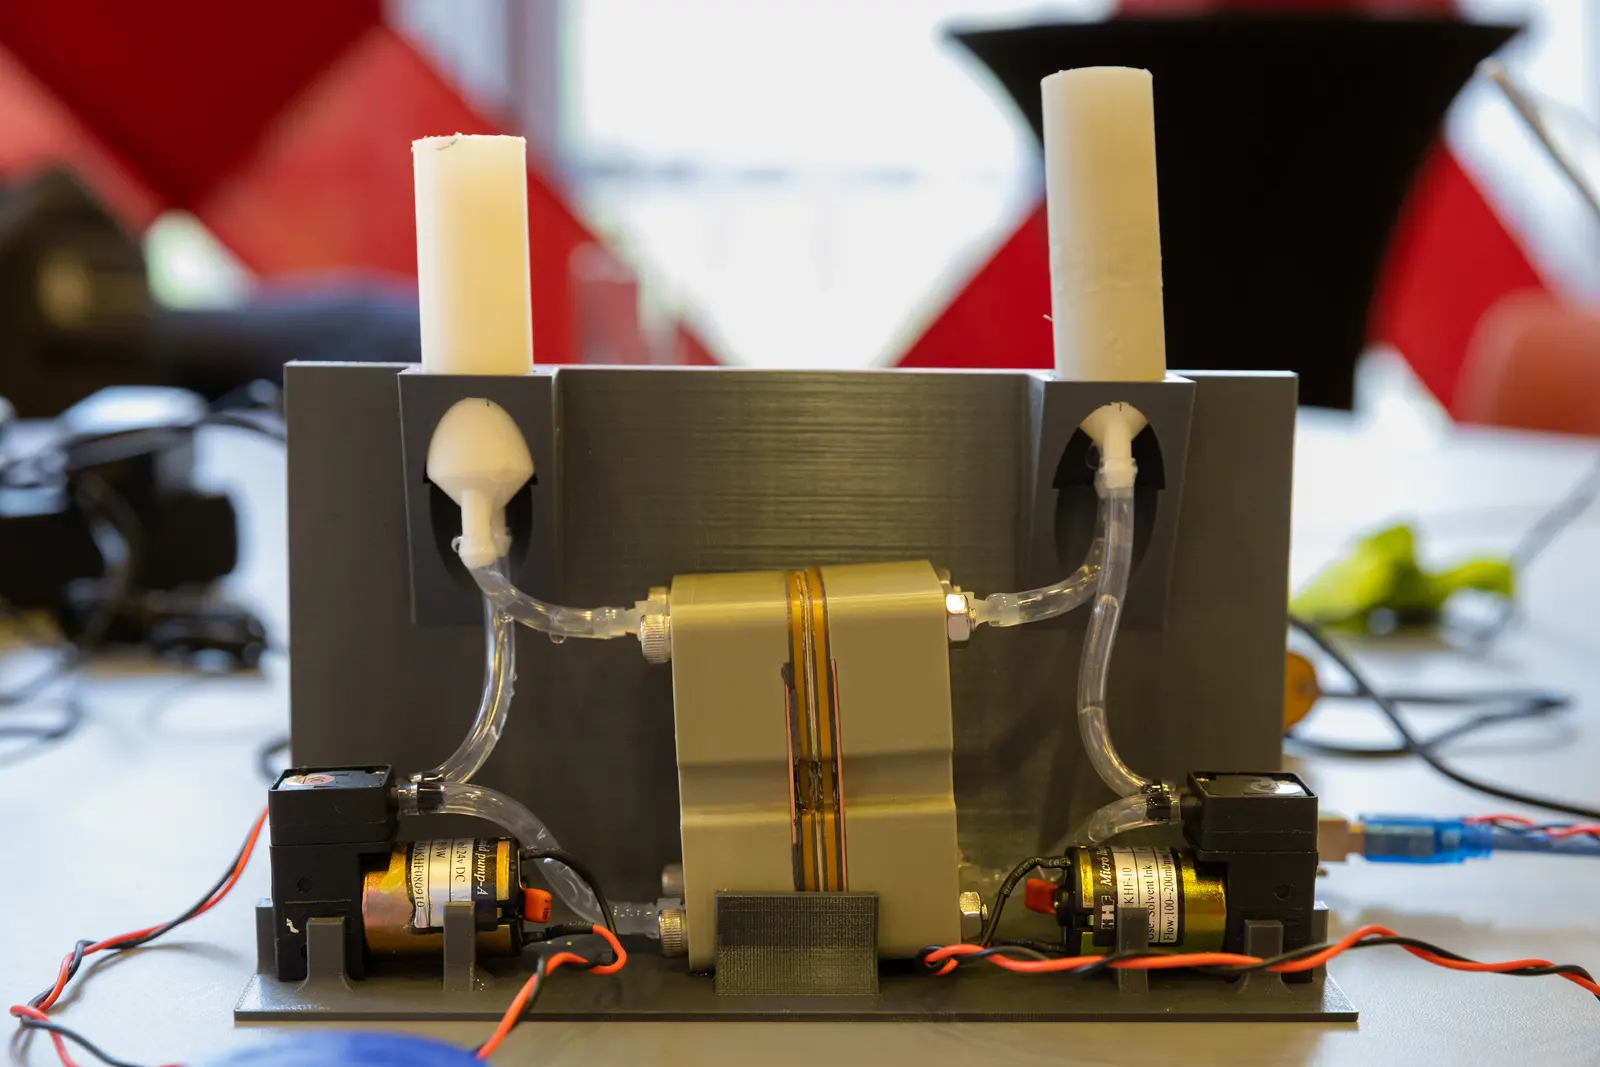
The presentation was immediately followed by a hands-on workshop using a beta version of our flow battery development kit, the manufacturing of which was sponsored by Sanli’s team at FAIR Battery. For the workshop we built 10 RFB cells and 5 complete kits in total, each including a MYSTAT potentiostat. The cost, including assembled MYSTAT PCBs from PCBway and machined plastic cell bodies from Xometry, was less than 500 EUR per kit. We demonstrated a real cell cycling with a zinc-iodide chemistry, safely contained within a sealed plastic box near the speaker podium.
Preparation
Prototyping before the workshop happened in an asynchronous, decentralized manner during the preceding months in the home labs of Kirk and Daniel and in the prototyping lab of Utrecht University, where Josh diligently fabricated many of the printed and laser-cut parts as well as many other items needed for a successful workshop. Kirk would make design changes in FreeCAD, Daniel would print them and refine his chemistry formulations, and then once we had working prototypes, Josh would make more of them and handle the logistics of a 10x scaleup.
In our prototyping process, though we had some limited success with FDM and resin-printed cells, for the workshop we decided to use a prototyping service to machine the cell bodies. We used Xometry EU and had a good experience. At a part quantity of 1, for CNC milling of polypropylene, the cost is 158 EUR, but at 20 cell bodies the price per part drops to 33 EUR (22 EUR if switching to polyethylene).
There were also a lot of other parts needed for the workshop, including:
pumps
tubing
reservoirs
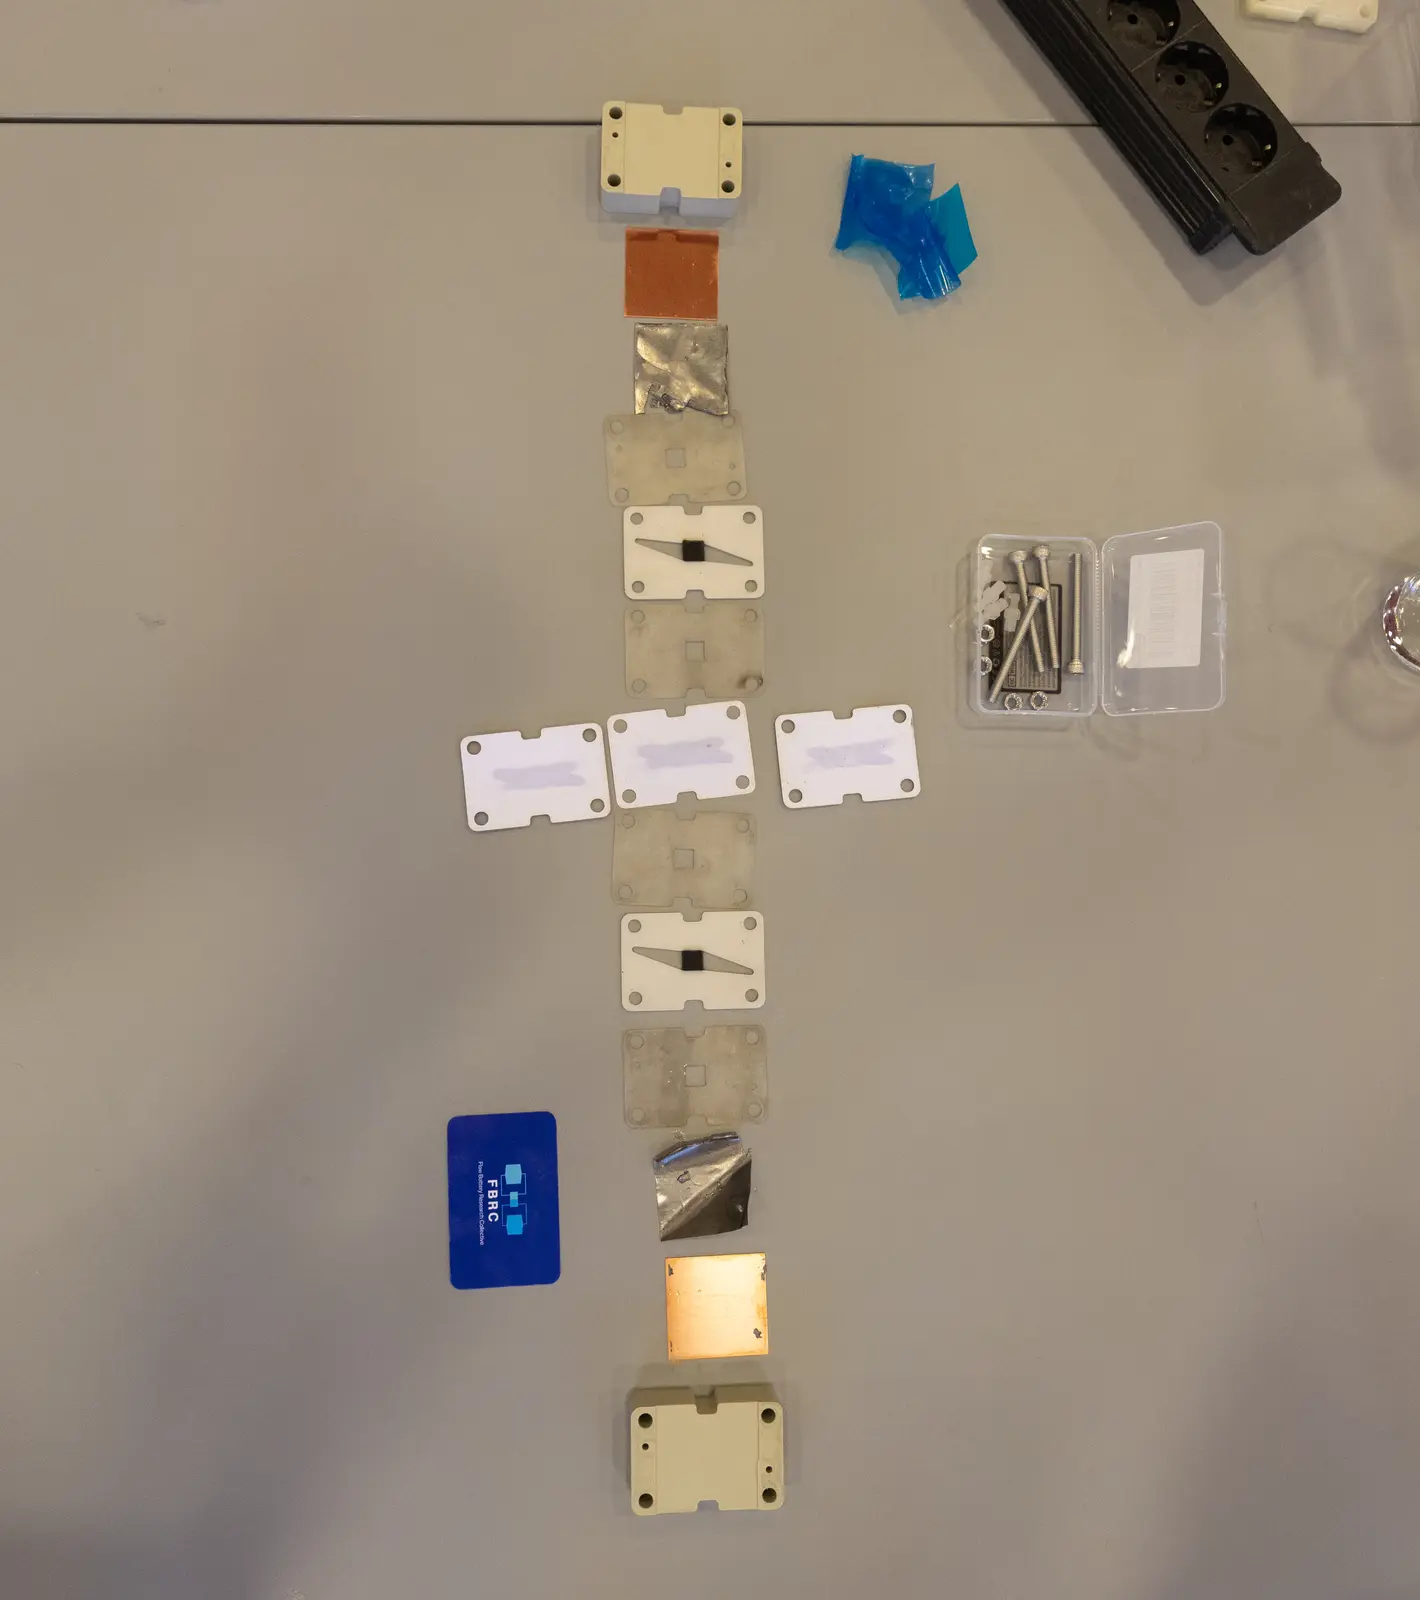
cell components: separator, flow frames, graphite felts, current collectors, nuts and bolts
and more…
The whole bill of materials is currently partially documented here, in the rendered documentation from our repository.
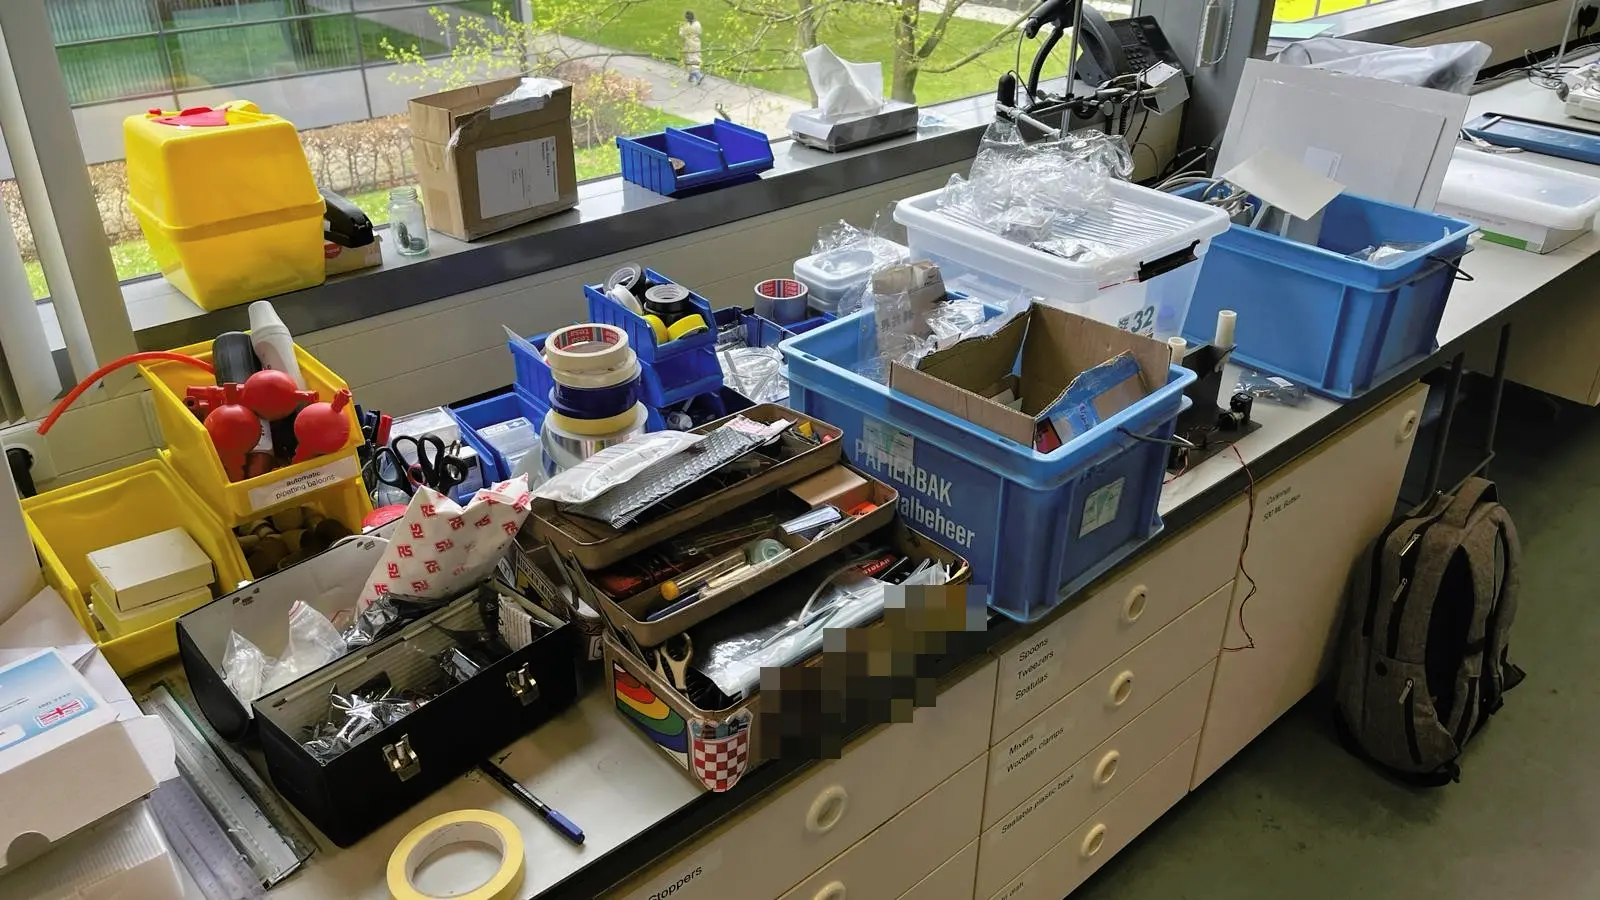
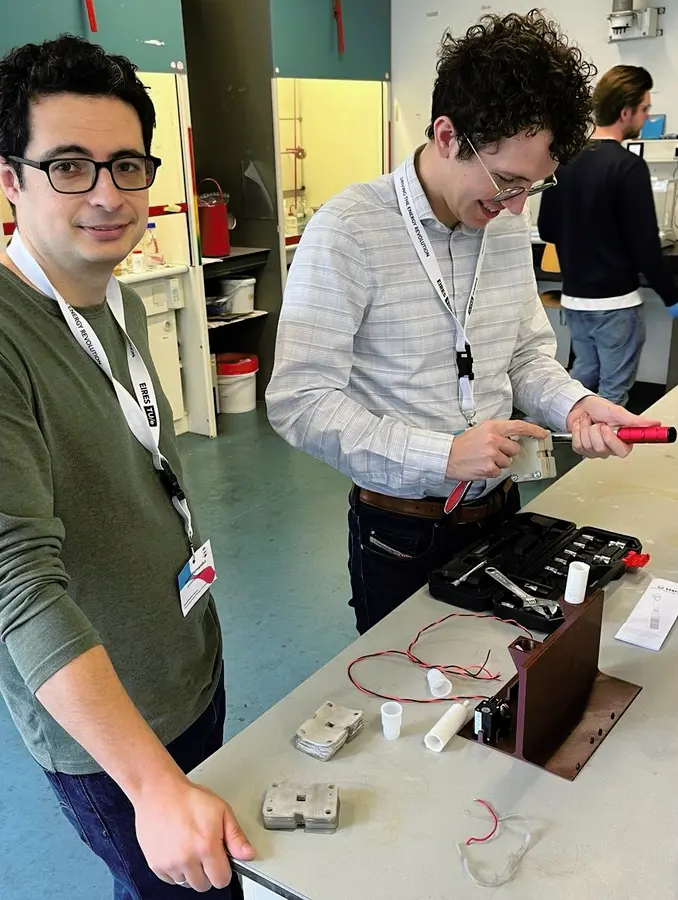
Of course, we spent the whole previous day of the workshop making sure we indeed had everything and that it all worked and fit together. This was the first time the whole team had met in-person!
We of course forgot one type of USB adapter cable in the BOM and sorted this out, and prepared the cell to be cycled with real zinc-iodide electrolyte the following day during the workshop.
Workshop
Presentation
For our first-ever public presentation of the project, we felt well-received. At least two members of the audience were co-authors on papers we cited as examples of other academic cell designs.

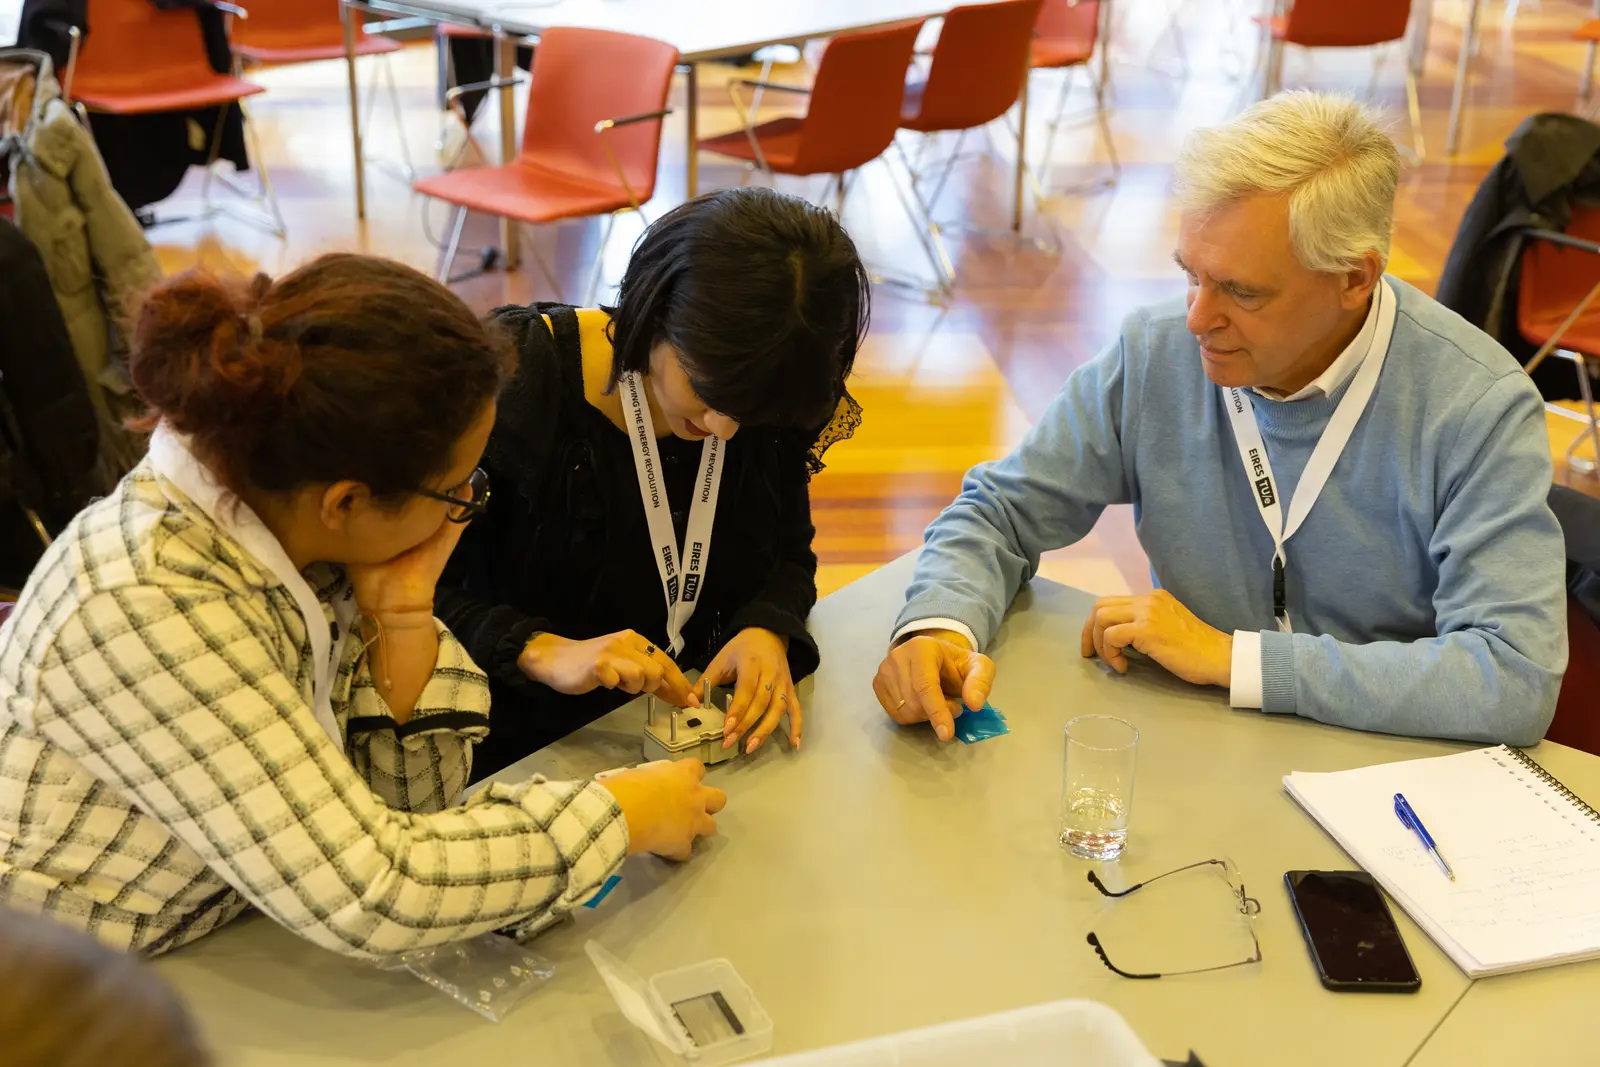
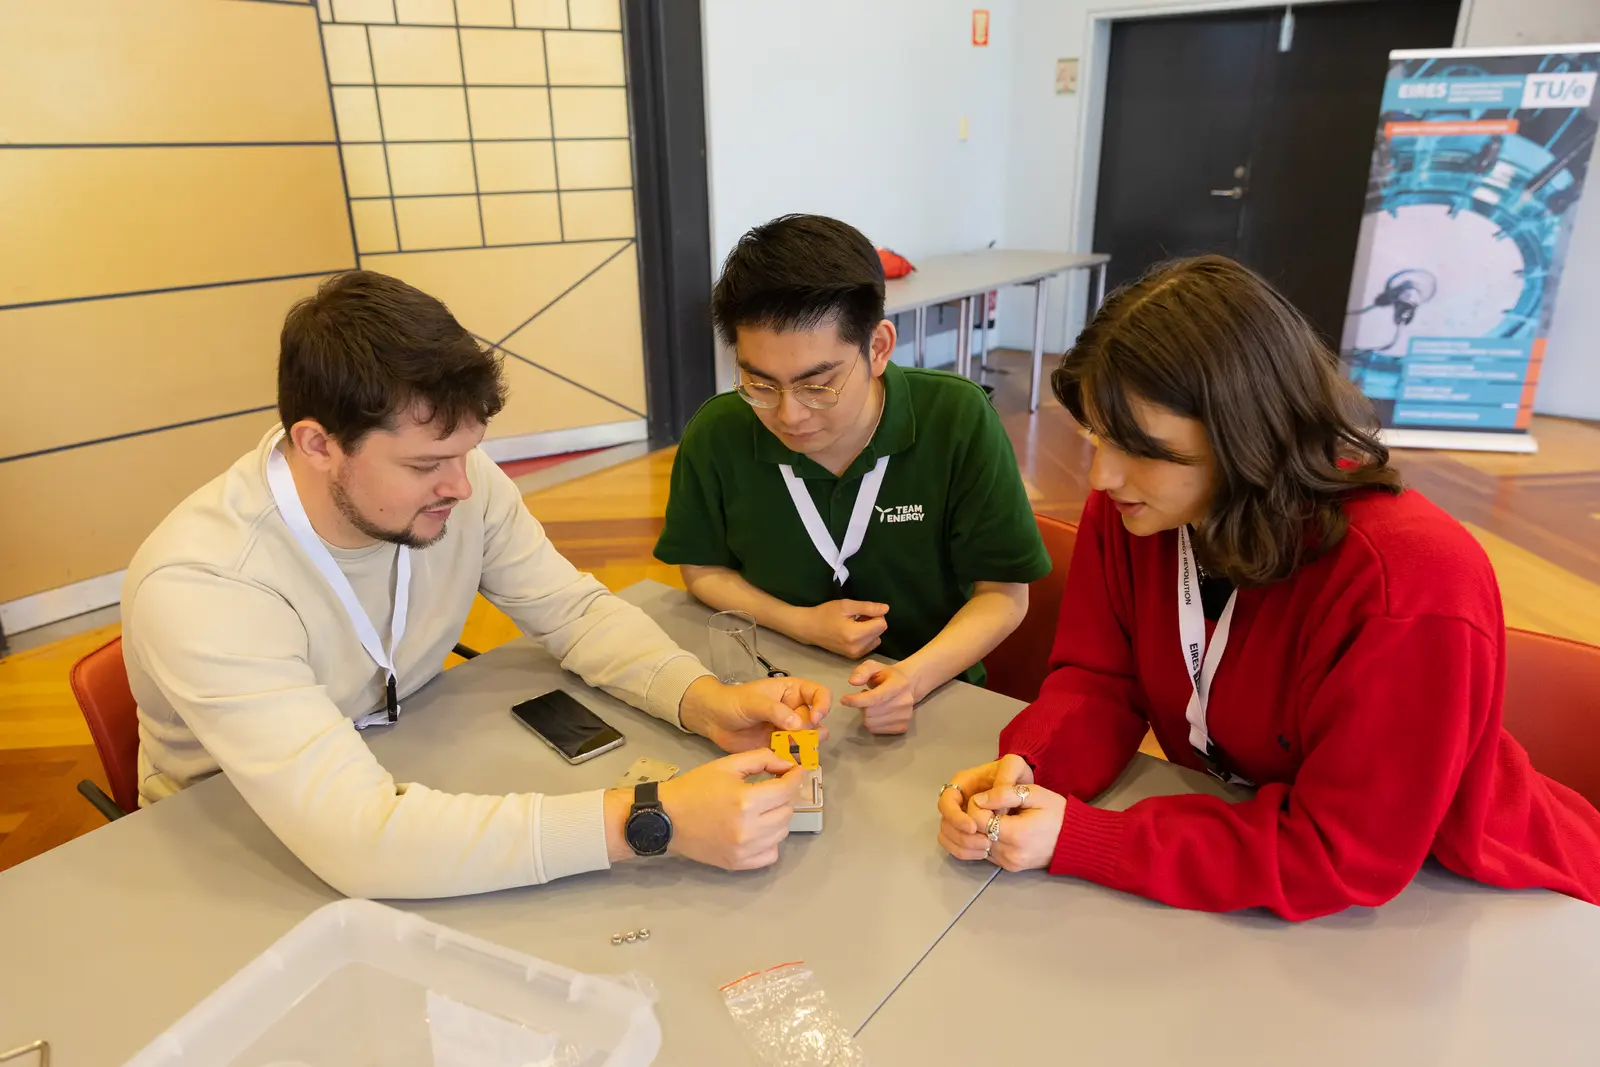
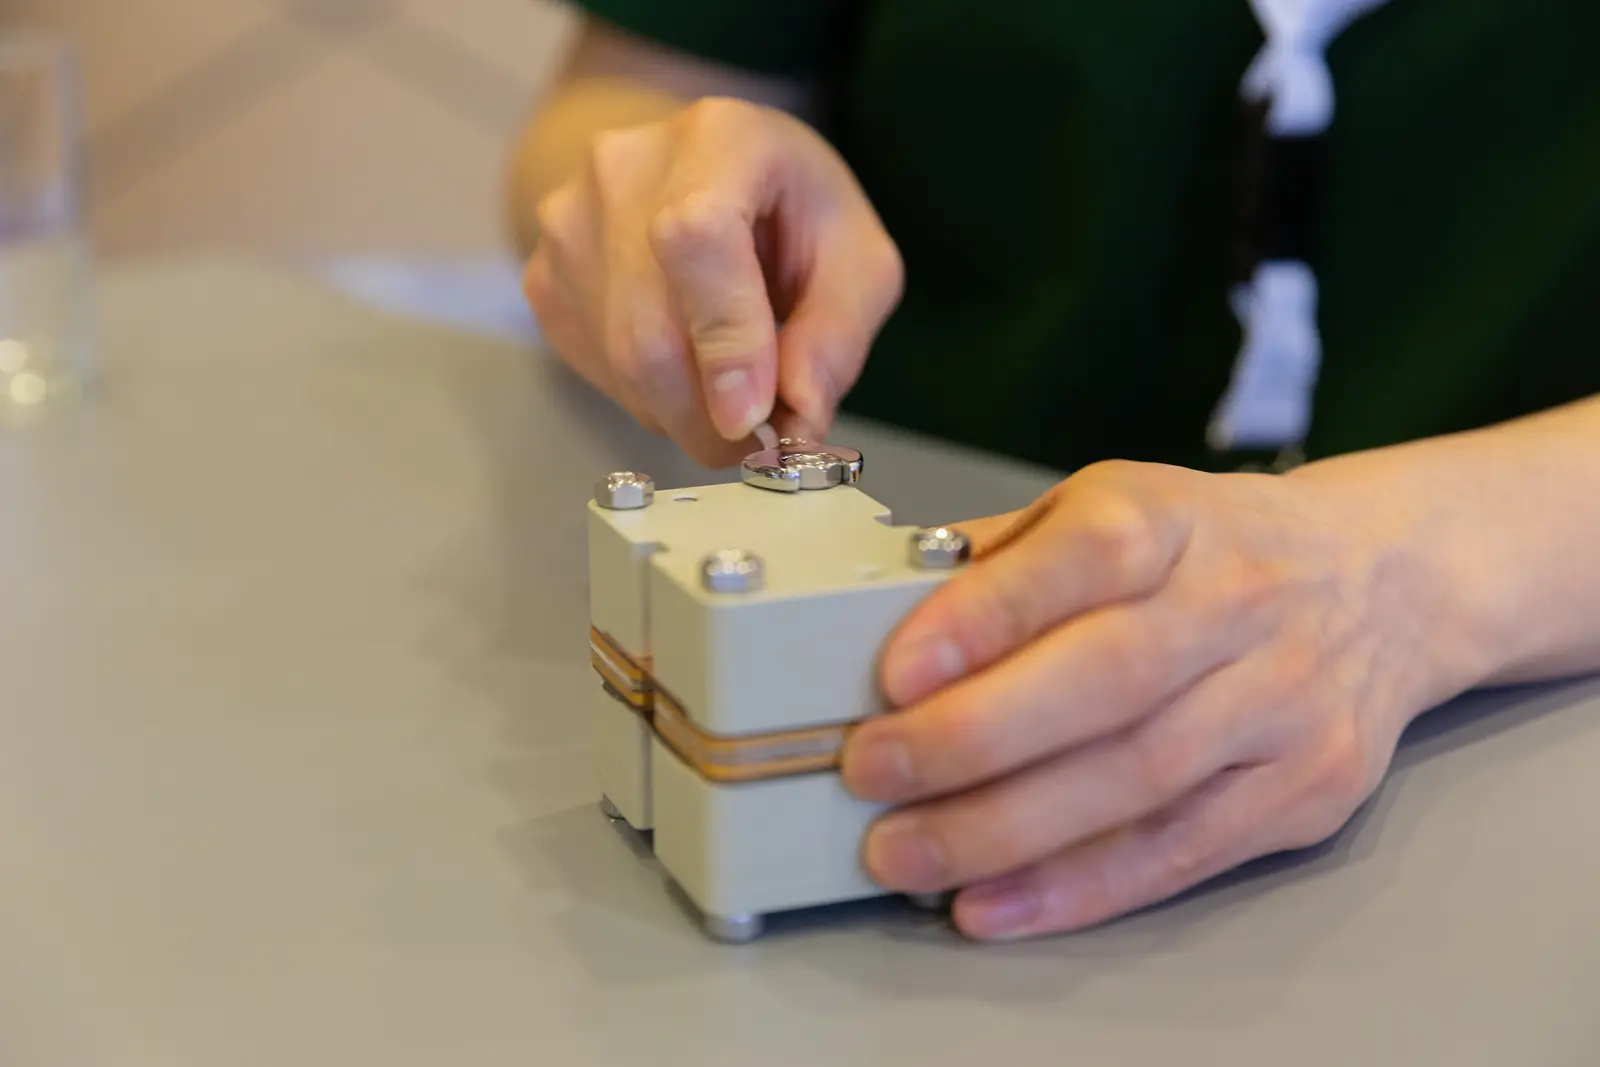
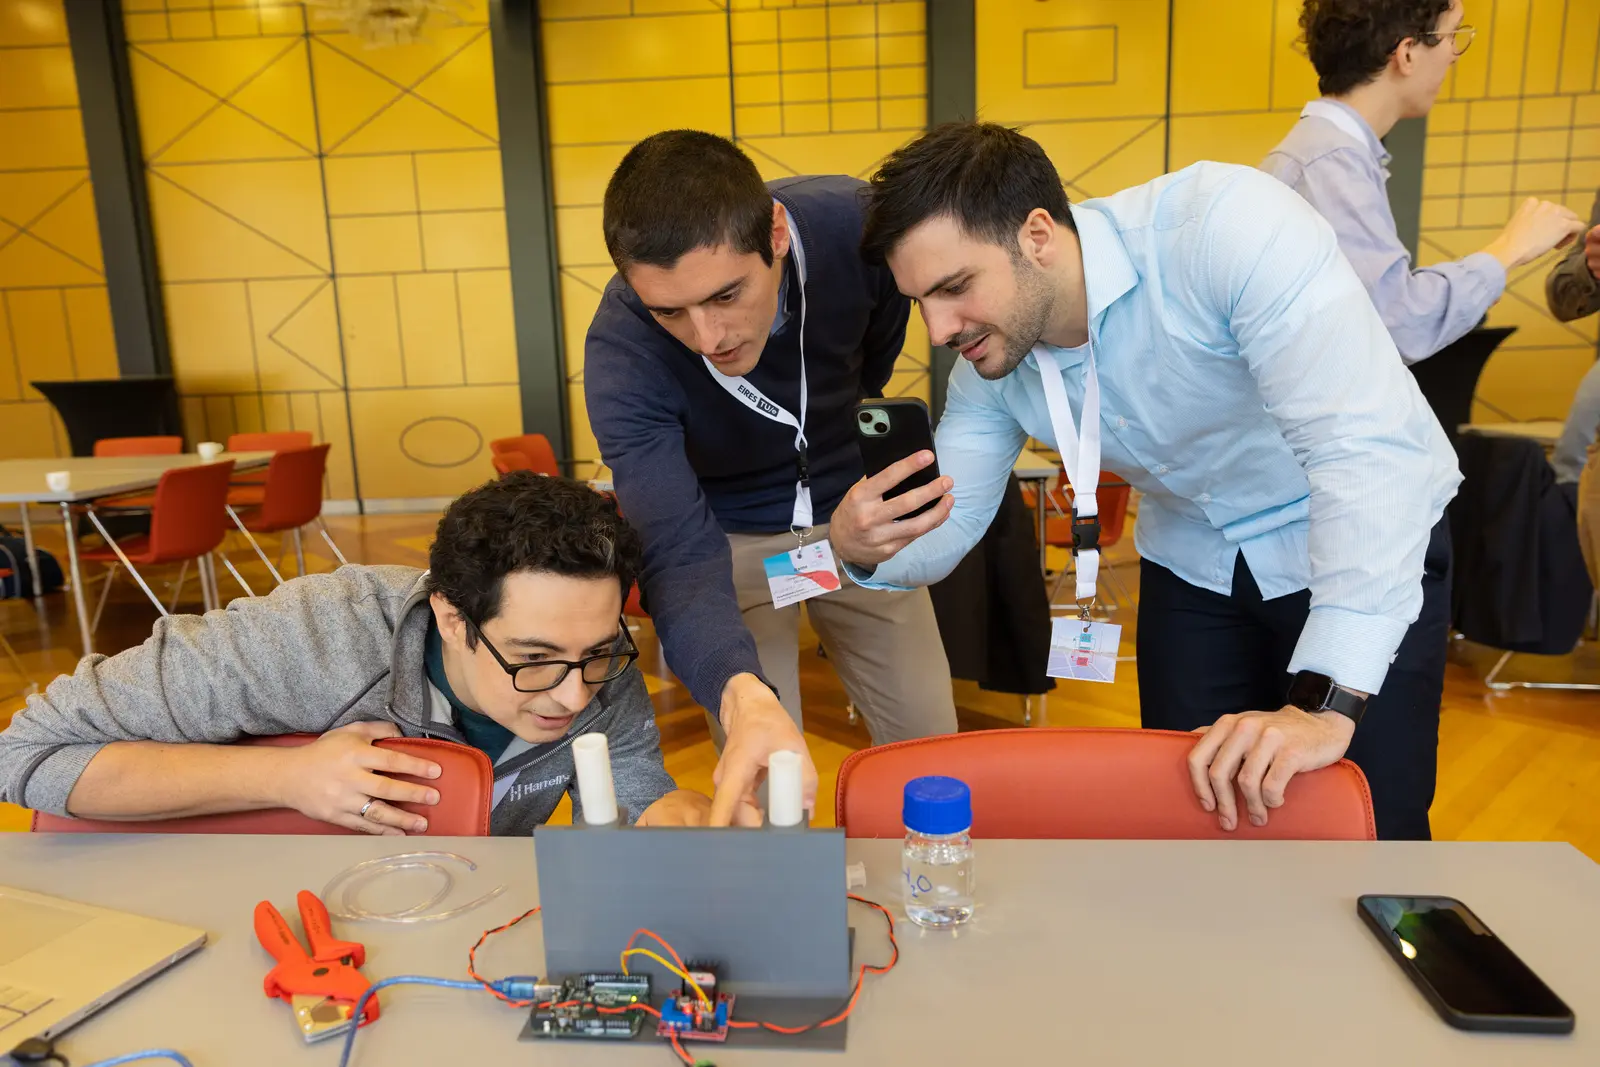
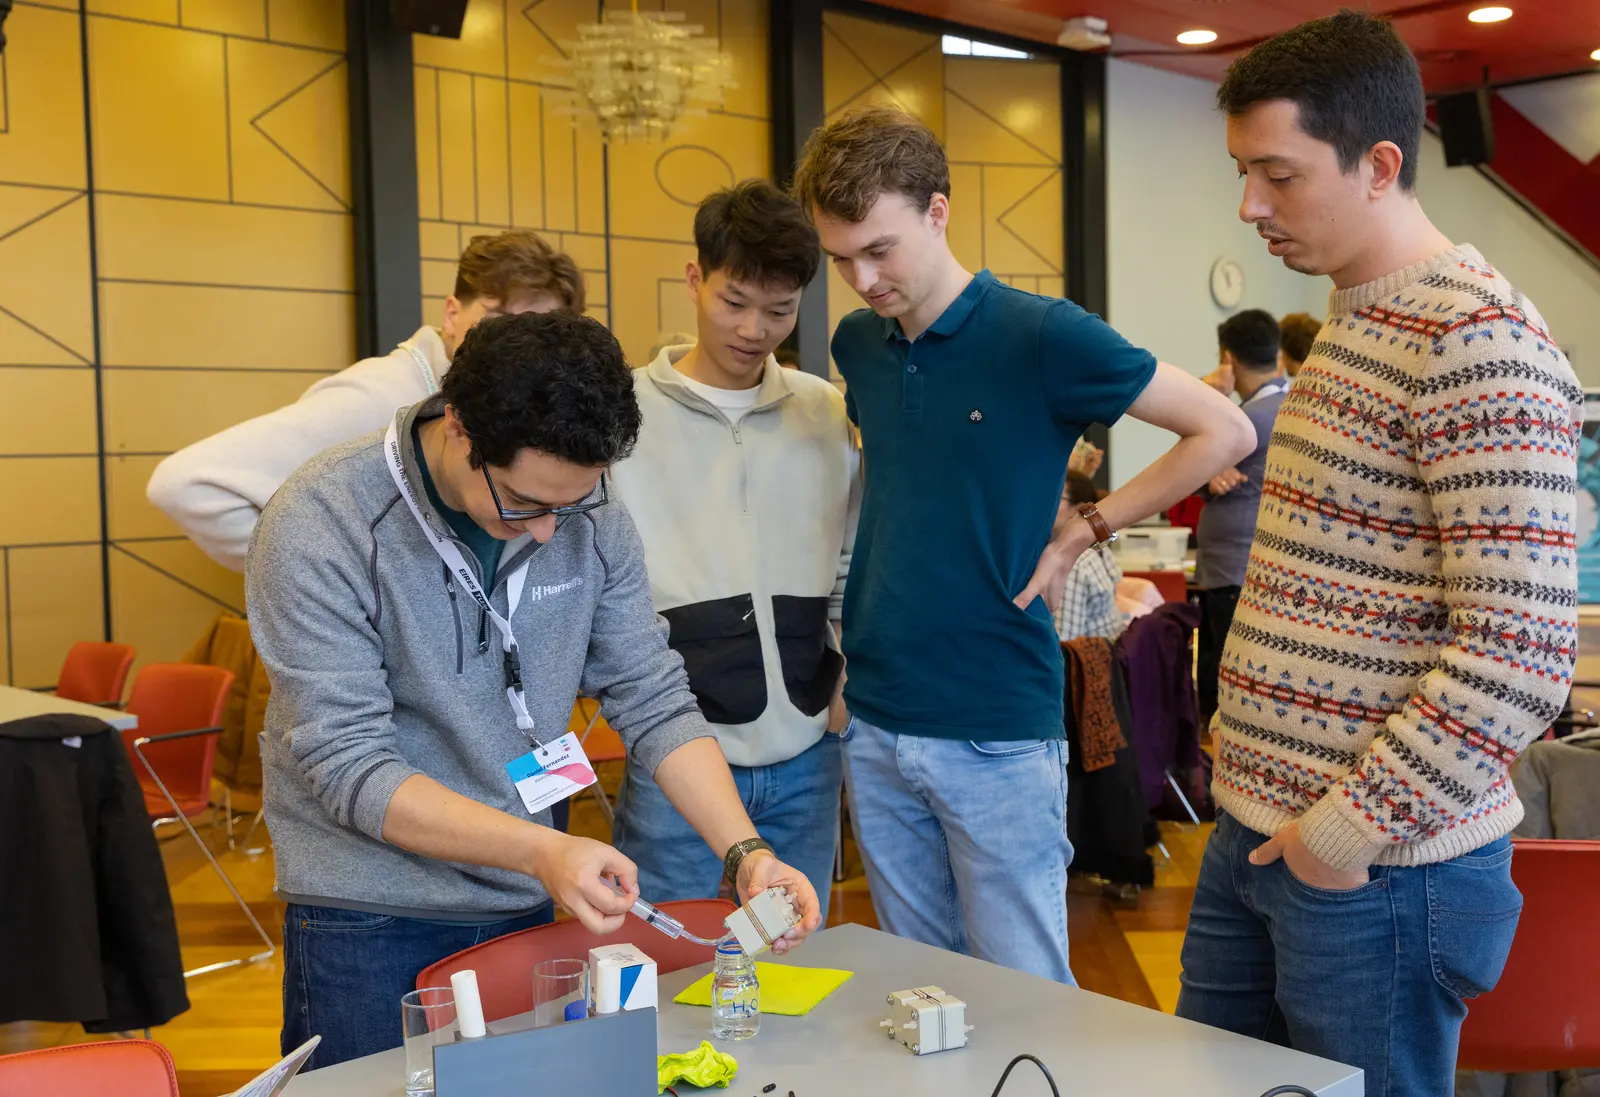
Hands-on assembly
Right after the presentation we got into assembling the flow cells. People then brought the assembled cell to a station where we would pump pure water through the cell and check for leaks.
We got a lot of useful feedback during this workshop, both directly and indirectly. A major one being that most people don’t know how to use a torque wrench! I will add that the only team that built a leak-proof cell on the first try was the team of mechanical engineers… who how to use a torque wrench. We will add this to the documentation and workshop instructions in the future now.
Feedback
We got feedback simply by watching the participants but also asked for their direct written feedback on the day. Here is a summary of what we received:
Good things
“easy to assemble”
“easy to align”
“sturdy”
“CHEAP ! ! !”
“fun activity”
“nice/understandable demonstration” (x2)
Things to improve
“fittings hard to fit” (presumably barbed fittings)
graphite foil is fragile/flimsy (x2)
need to include o-rings on drawing
indicate in instructions that some parts are not symmetrical
square copper plate with can be placed two ways, one which results in a working cell, the other way which results in a leaky cell
could add alignment options for quicker assembly
numbering of gaskets
flow field design can be improved / is very simple currently
overtightening of barbs and/or cell bolts
add washers for better pressure distribution
a symmetrical flow frame could avoid assembly in the wrong orientation
threaded hole for barb should be further from bolt hole
barbs are vulnerable to overtightening (at least one group overtightened and sheared them off completely)
closed and tightened cell appears slighly bigger in middle
(silicone) rubber gasket can loosen over time, more rigid plastic gasket might avoid this
possible to close cell with a clamp instead of bolts?
Roadmap for the test cell
We will complete the entire documentation for the version of the cell we produced for the workshop, and mark this version as the “first release” of the cell. We’ll then incorporate any breaking design changes from the feedback just mentioned which will go into the second release.
One design change that could address multiple feedback points is adopting some poka-yoke design strategies, such as making both the copper current collector and corresponding recess in the cell body rectangular, so that it can only be inserted one way.
Another suggestion was to address the ordering of gaskets and flow frames by placing a notch or other visual indicator along the external perimeter of each part, so that when assembled there should be a large visual indicator showing that the notches of all parts are aligned and therefore assembled in the correct order.
Reflection
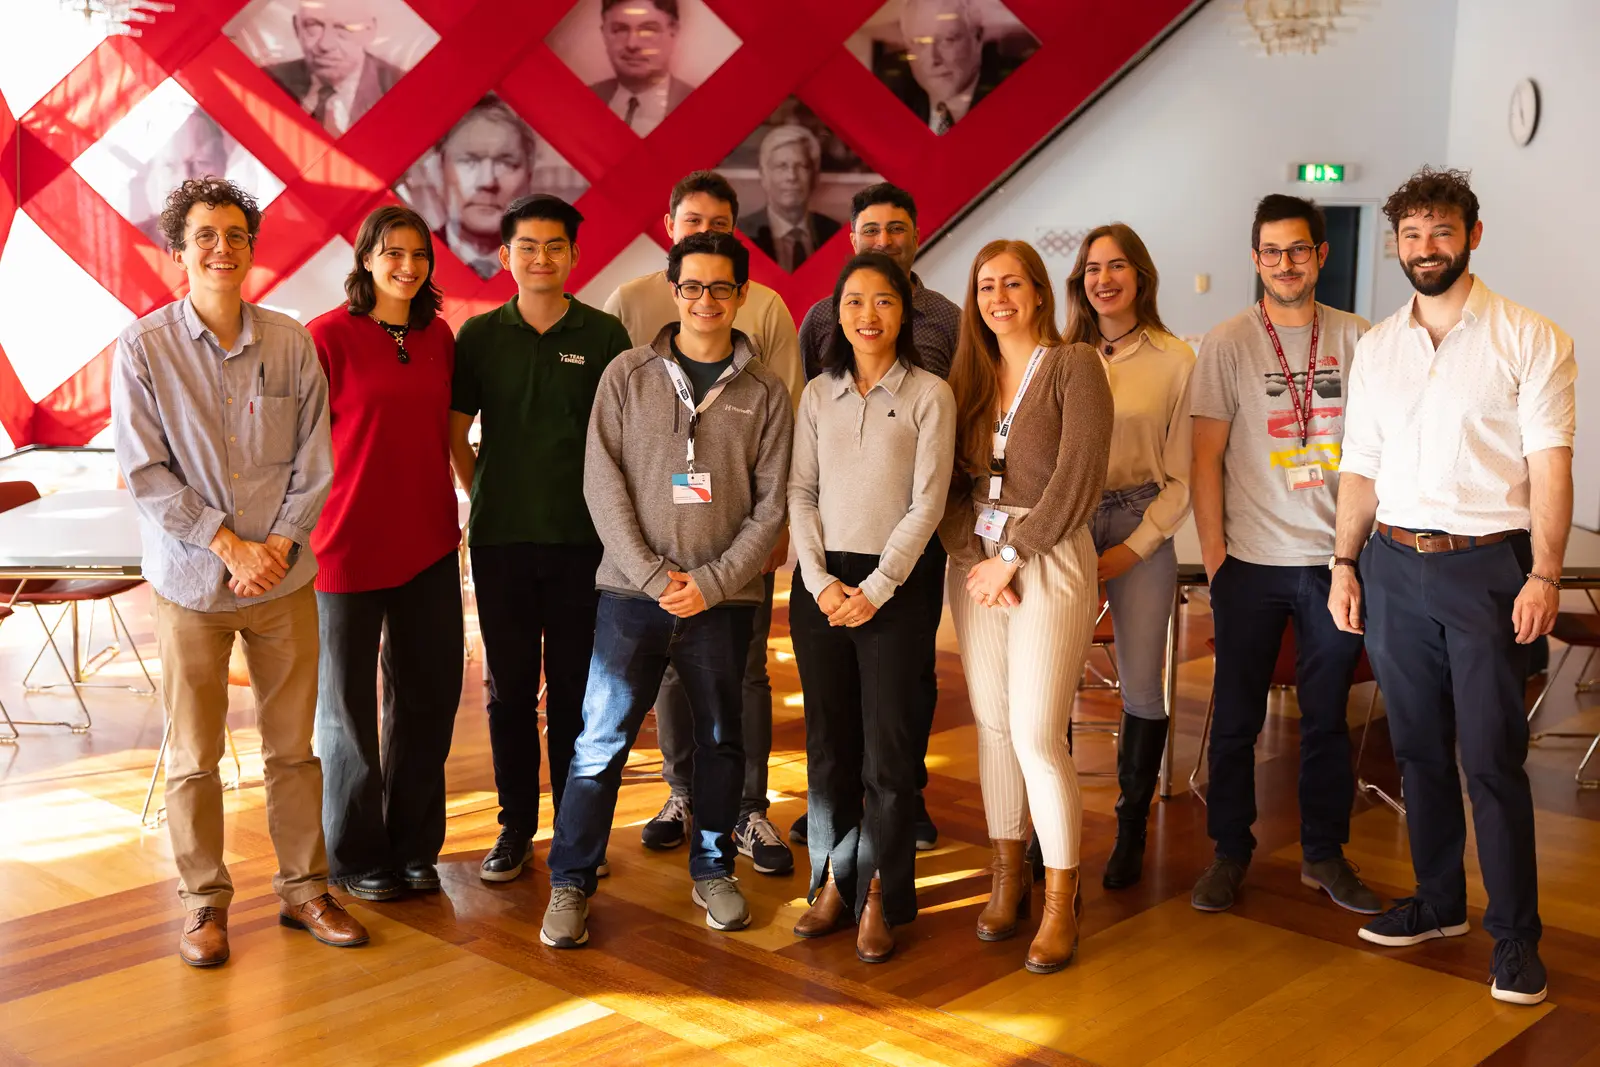
Overall we are quite happy with how are first workshop went. We are very grateful for the support of Sanli Faez and his FAIR Battery project, and by extension Utrecht and Eindhoven Universities and the student team at https://team-energy.nl/ who all performed an excellent job organizing the entire conference.
Two workshop participants were chosen at random to take home complete kits to their own labs to experiment with, with the stipulation that they share their findings and feedback.
Now, we have our hands full with completing the documentation for the first release, before making design changes with the valuable feedback received for version two.
Citation
@online{pollard_smith,_phd2024,
  author = {Pollard Smith, PhD, Kirk and Fernandez Pinto, PhD, Daniel
    and Hauser, Josh and Sanli Faez, PhD, Prof},
  title = {Participation in the {Flow4U} {Battery} {Conference}},
  date = {2024-04-20},
  url = {https://fbrc.dev/posts/Flow4U-conference/},
  doi = {10.1149/osf.io/ds3ax},
  langid = {en}
}